How to create a cross stitch pattern: design your own step by step
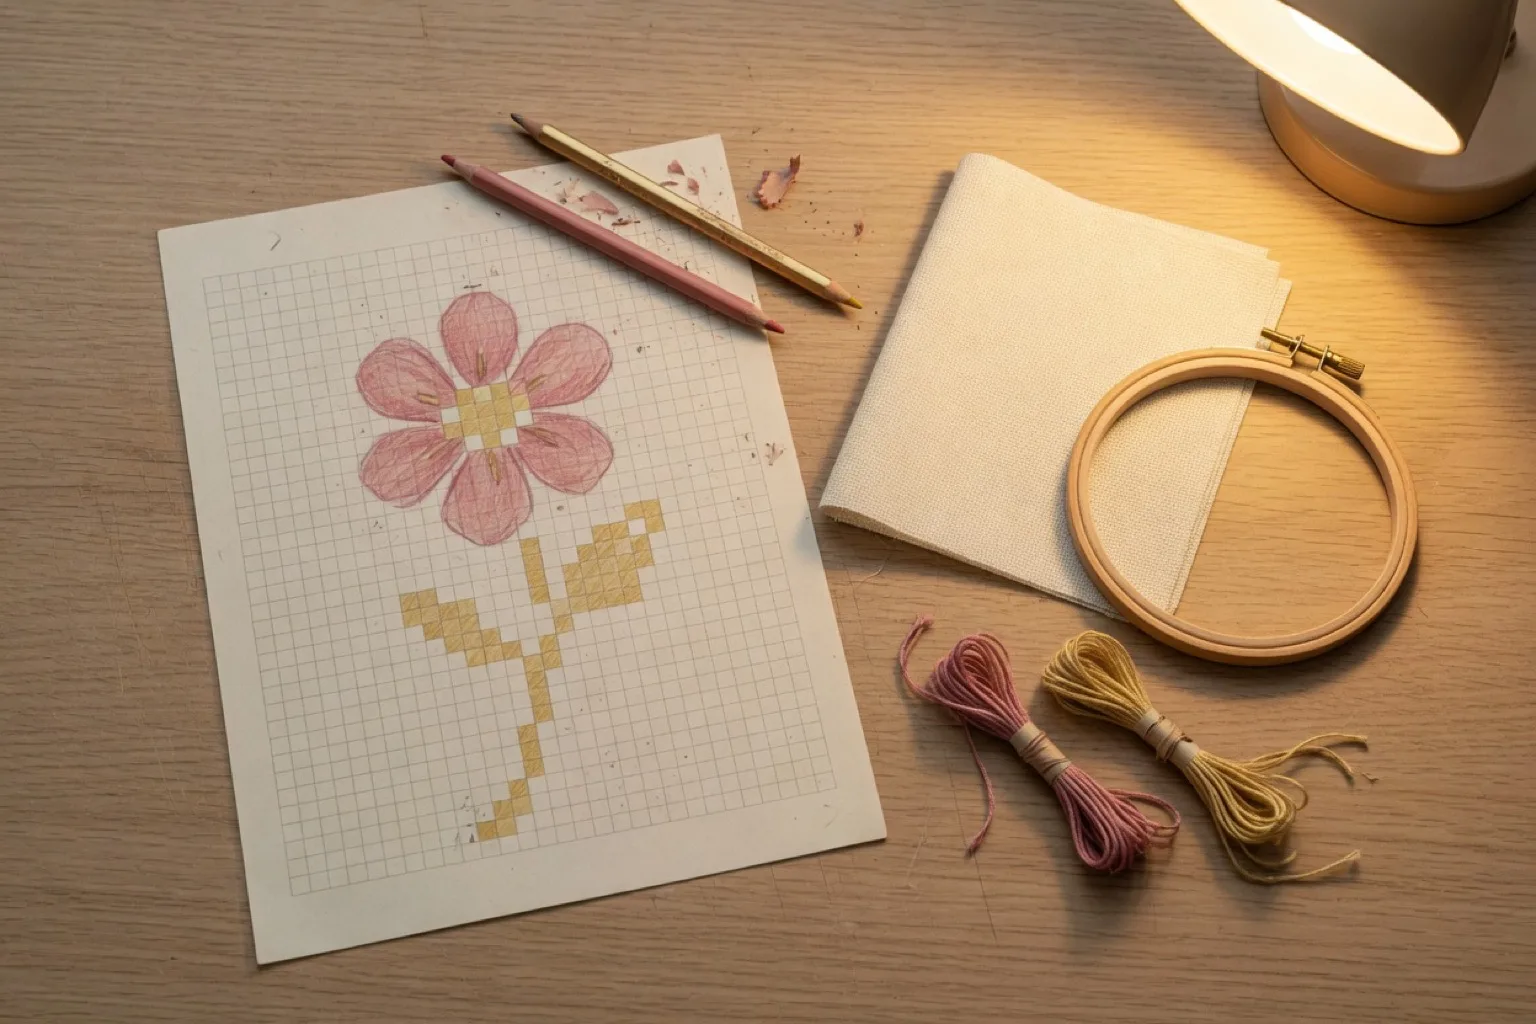
When you make your own cross stitch pattern, nobody else will ever stitch the same piece. It is also far more approachable than it sounds, because cross stitch design is essentially pixel art. This guide walks through the full process, from planning the grid to exporting a printable chart, and shows where an editor like StitchCraft saves you the tedious parts.
Step 1: Decide what you are designing, and how big
Start with a simple motif: a plant, an animal, a monogram, a small sampler with a border. Then pick a grid size before you draw anything, because the grid determines how much detail you can express and how large the finished piece will be on fabric.
- 40 to 60 stitches wide suits a first original design: enough room for a clear motif, small enough to finish.
- Remember the fabric math: stitches divided by fabric count equals inches. A 56-stitch-wide motif on 14-count Aida is 4 inches (about 10 cm) wide.
- If the design will hang in a specific spot or frame, work backwards from the finished size you want.
Step 2: Choose a small, deliberate color palette
Pick your thread colors before you draw, the way a painter prepares a palette. A tight palette keeps the design coherent and the stitching pleasant:
- 5 to 10 colors is plenty for most original motifs.
- Choose colors as real thread codes from the start, so there is no guesswork later at the store. StitchCraft's library has all 523 official DMC colors, searchable by name or code.
- Include one dark shade for outlines and contrast, and consider whether the fabric color itself can serve as your background "color". Unstitched fabric is free.
- If you want to use only threads you already own, build a custom palette from those DMC codes and restrict the design to it.
Step 3: Draw the design on the grid
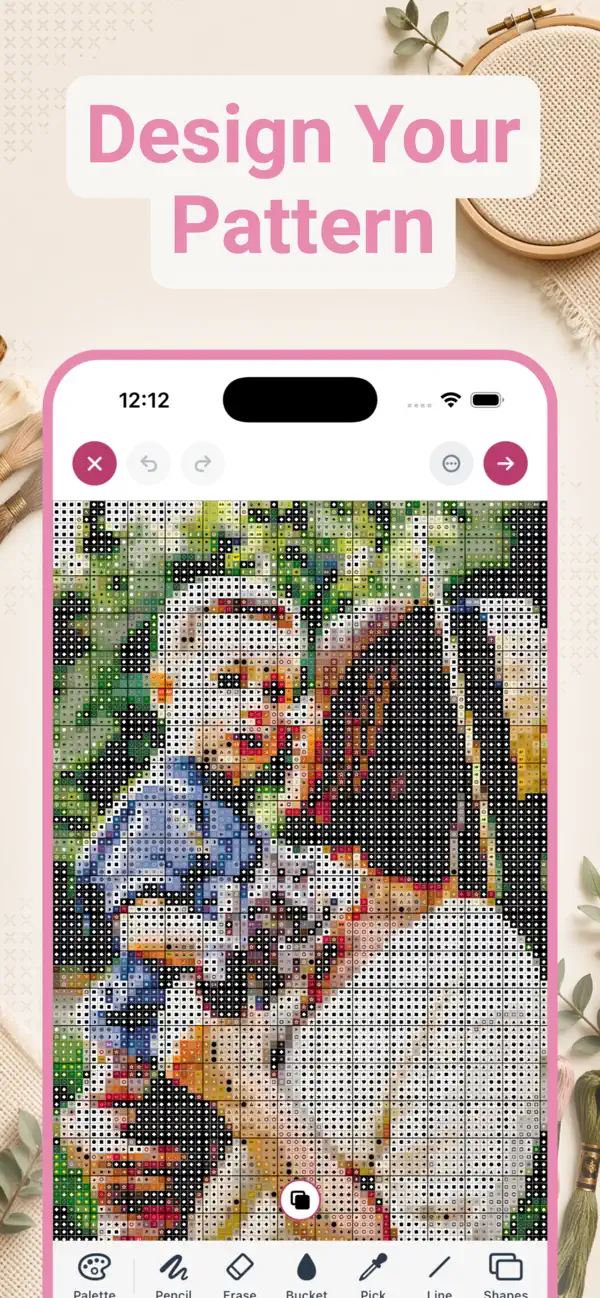
Now the fun part. Whether you use graph paper or an app, the technique is the same as pixel art:
- Block in the silhouette of your motif first, in a single color, to get the proportions right.
- Fill the large areas next. In StitchCraft the bucket tool flood-fills a region in one tap.
- Add shading and detail with your darker and lighter shades. The eyedropper picks any color already on the grid.
- Refine the edges. Diagonal lines and curves read better when they step evenly (one square over, one square up) rather than randomly.
- Step back often. Zoom out, or switch between color view and symbol view, to check that the motif reads clearly at a distance.
Working digitally pays off most in revision: undo takes back a wrong line, and if a green feels off you can swap every stitch of that color for a different DMC shade in a single tap instead of redrawing.
Step 4: Add backstitch for outlines and lettering
Backstitch is the thin line stitched on top of the finished crosses, and it is what makes small designs look crisp. Use it for lettering, facial features, stems, and borders. In StitchCraft you draw backstitch lines directly onto the pattern, so they appear on the exported chart exactly where they belong.
Step 5: Turn the design into a stitchable chart
A design only becomes a pattern when someone can stitch from it. A complete chart needs:
- A symbol for every color, so the chart works in black-and-white print.
- A legend mapping symbols to DMC codes and stitch counts.
- Row and column numbers, plus section breaks for larger pieces.
- A shopping list: how many skeins of each color, and the fabric size including margin.
StitchCraft generates all of this automatically as a print-ready PDF that you can AirDrop, email, print, or save to Files. While you stitch, the app tracks your progress: tap stitches to mark them done and finish section by section.
Prefer to start from a photo?
You do not have to draw from nothing. Many designers generate a base pattern from a photo and then edit it: clean up stray stitches, simplify the background, swap colors, and add backstitch details. Read the companion guide on generating a cross stitch pattern from a photo for photo selection, sizing, and color reduction tips.
Frequently asked questions
Can I create my own cross stitch pattern without design experience?
Yes. Cross stitch design is closer to pixel art than to drawing: you place colored squares on a grid. Starting small, around 40 to 60 stitches wide, with a limited palette of 5 to 10 colors makes the first design very approachable.
What size should my first own design be?
A grid of roughly 40 to 60 stitches on the longest side is a good first project. It is large enough for a recognizable motif with some detail, but small enough to design and stitch within a reasonable time.
Should I design on paper or in an app?
Graph paper works, but an app is faster to revise: you can flood-fill areas, swap a color everywhere at once, undo mistakes, and switch between color and symbol view. An app also keeps your palette tied to real DMC codes, so the chart is immediately stitchable.
What is backstitch used for in a pattern?
Backstitch adds thin outline lines on top of the crossed stitches. Designers use it for lettering, facial features, borders, and any fine detail that a full stitch grid cannot express. In StitchCraft you draw backstitch lines directly onto the pattern.
Can I use threads I already own?
Yes. In StitchCraft you can build a custom palette from any combination of the 523 DMC colors, for example only the skeins in your stash, and design or generate patterns limited to that palette.
How do I make my own cross stitch pattern for free?
Graph paper and colored pencils cost next to nothing and work fine for small motifs. If you would rather draw on a screen, StitchCraft is free to download on iPhone and iPad. The free version lets you create up to three patterns per day with grids up to 80 stitches wide and 20 colors, which covers most first designs. PDF export and custom palettes are part of StitchCraft Premium.