Create a Cross Stitch Portrait from Any Photo
Create a Cross Stitch Portrait from Any Photo
Co-Founder & Lead Developer
A cross stitch portrait of a loved one is a meaningful, handmade piece of art that can be treasured for generations. Whether it is a photo of your child, a grandparent, or a friend, converting a portrait into a stitchable pattern is straightforward when you know what to focus on.
Picking the Right Portrait Photo
Portrait patterns demand more precision than landscapes or abstract designs, so your source photo matters a lot.
- Choose a well-lit, front-facing shot with a clear view of the face
- Avoid group photos — single subjects produce the cleanest patterns
- High resolution helps — the more pixel data available, the better the conversion
- Neutral or simple backgrounds keep the focus on the person
Handling Skin Tones
Skin tones are one of the trickiest parts of portrait cross stitch. Human skin contains subtle gradations of pink, peach, brown, and yellow that need careful handling.
- Use at least 4-6 DMC threads for skin to capture highlights, midtones, and shadows
- Common DMC skin tones include 948, 754, 758, 3064, 3773, and 3860
- Preview your pattern carefully in the skin areas — if transitions look harsh, add one or two more colors
- StitchCraft's perceptual color matching automatically selects skin tones that look natural to the human eye
Simplifying the Background
A busy background competes with the portrait subject and wastes stitches on unimportant areas.
Turn Any Photo Into a Cross Stitch Pattern
- Accurate DMC color matching
- Track progress stitch by stitch
- Export print-ready PDF charts
iPhone & iPad
- Crop tightly around the head and shoulders before converting
- Consider a single-color background — you can edit the pattern after conversion to replace a complex background with a flat color
- Use StitchCraft's pattern editor to manually adjust background stitches if needed
Recommended Color Counts
- 15-20 colors — Good balance of detail and manageability for most portraits
- 25-30 colors — More realistic shading, especially in hair and clothing
- 35+ colors — Near-photographic quality, but requires more threads and patience
Sizing for Framing
Think about your finished size before you start stitching:
- 8x10 inches on 14-count Aida requires roughly 112x140 stitches
- 5x7 inches on 18-count Aida requires roughly 90x126 stitches
- Add 3 inches of margin on each side for framing allowance
- Standard frame sizes are easier to find, so plan your grid dimensions accordingly
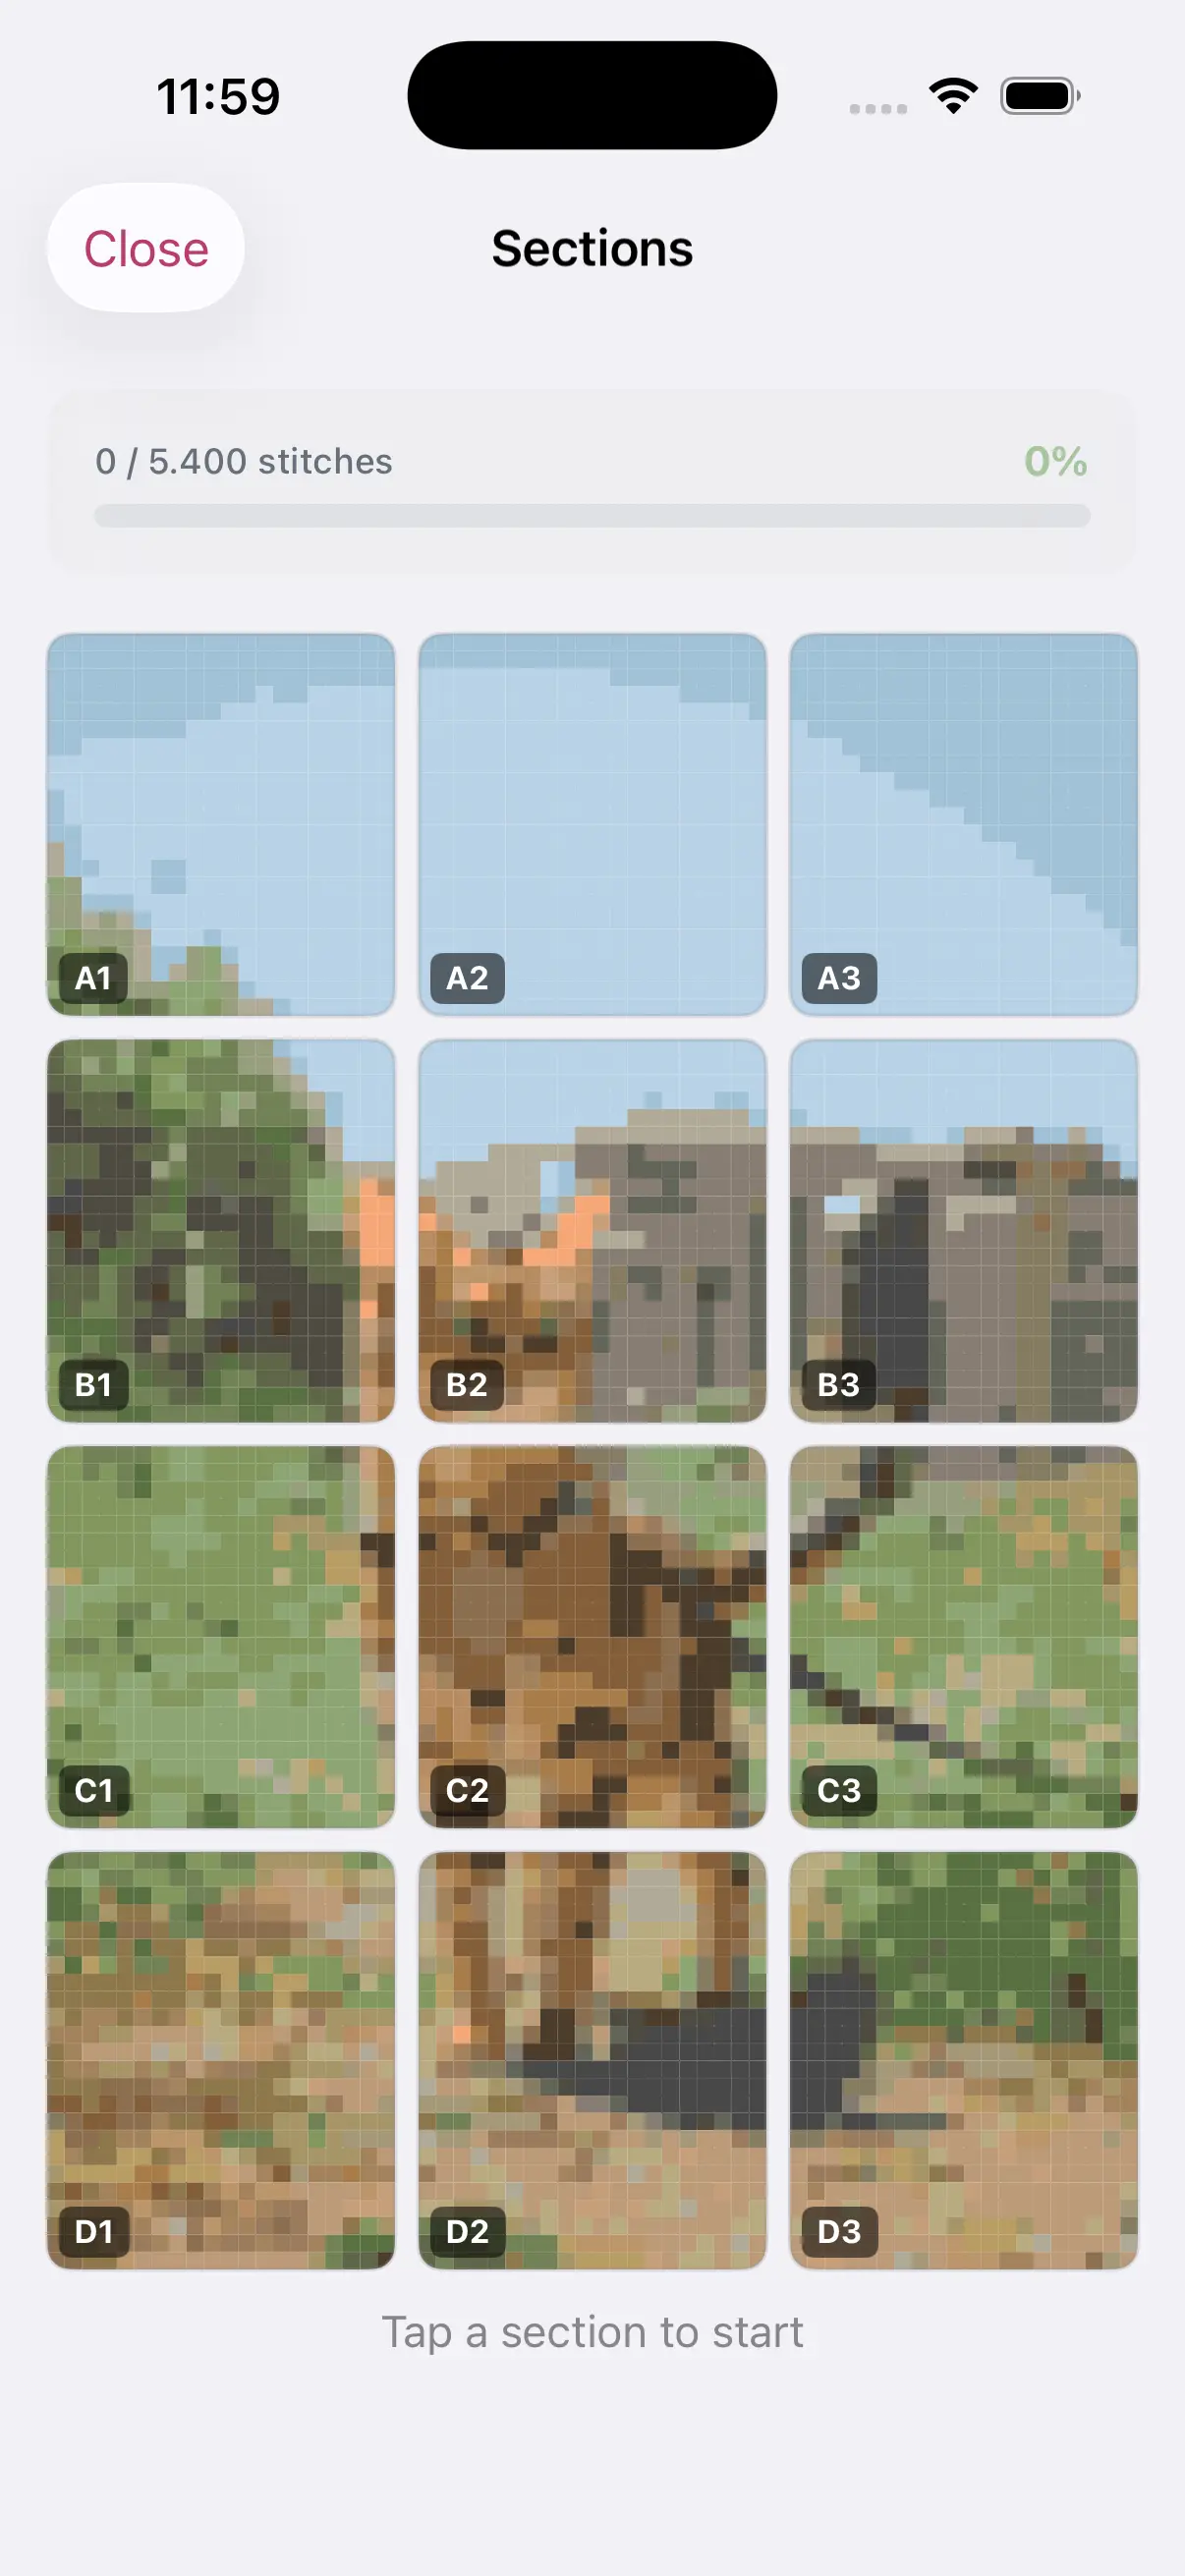
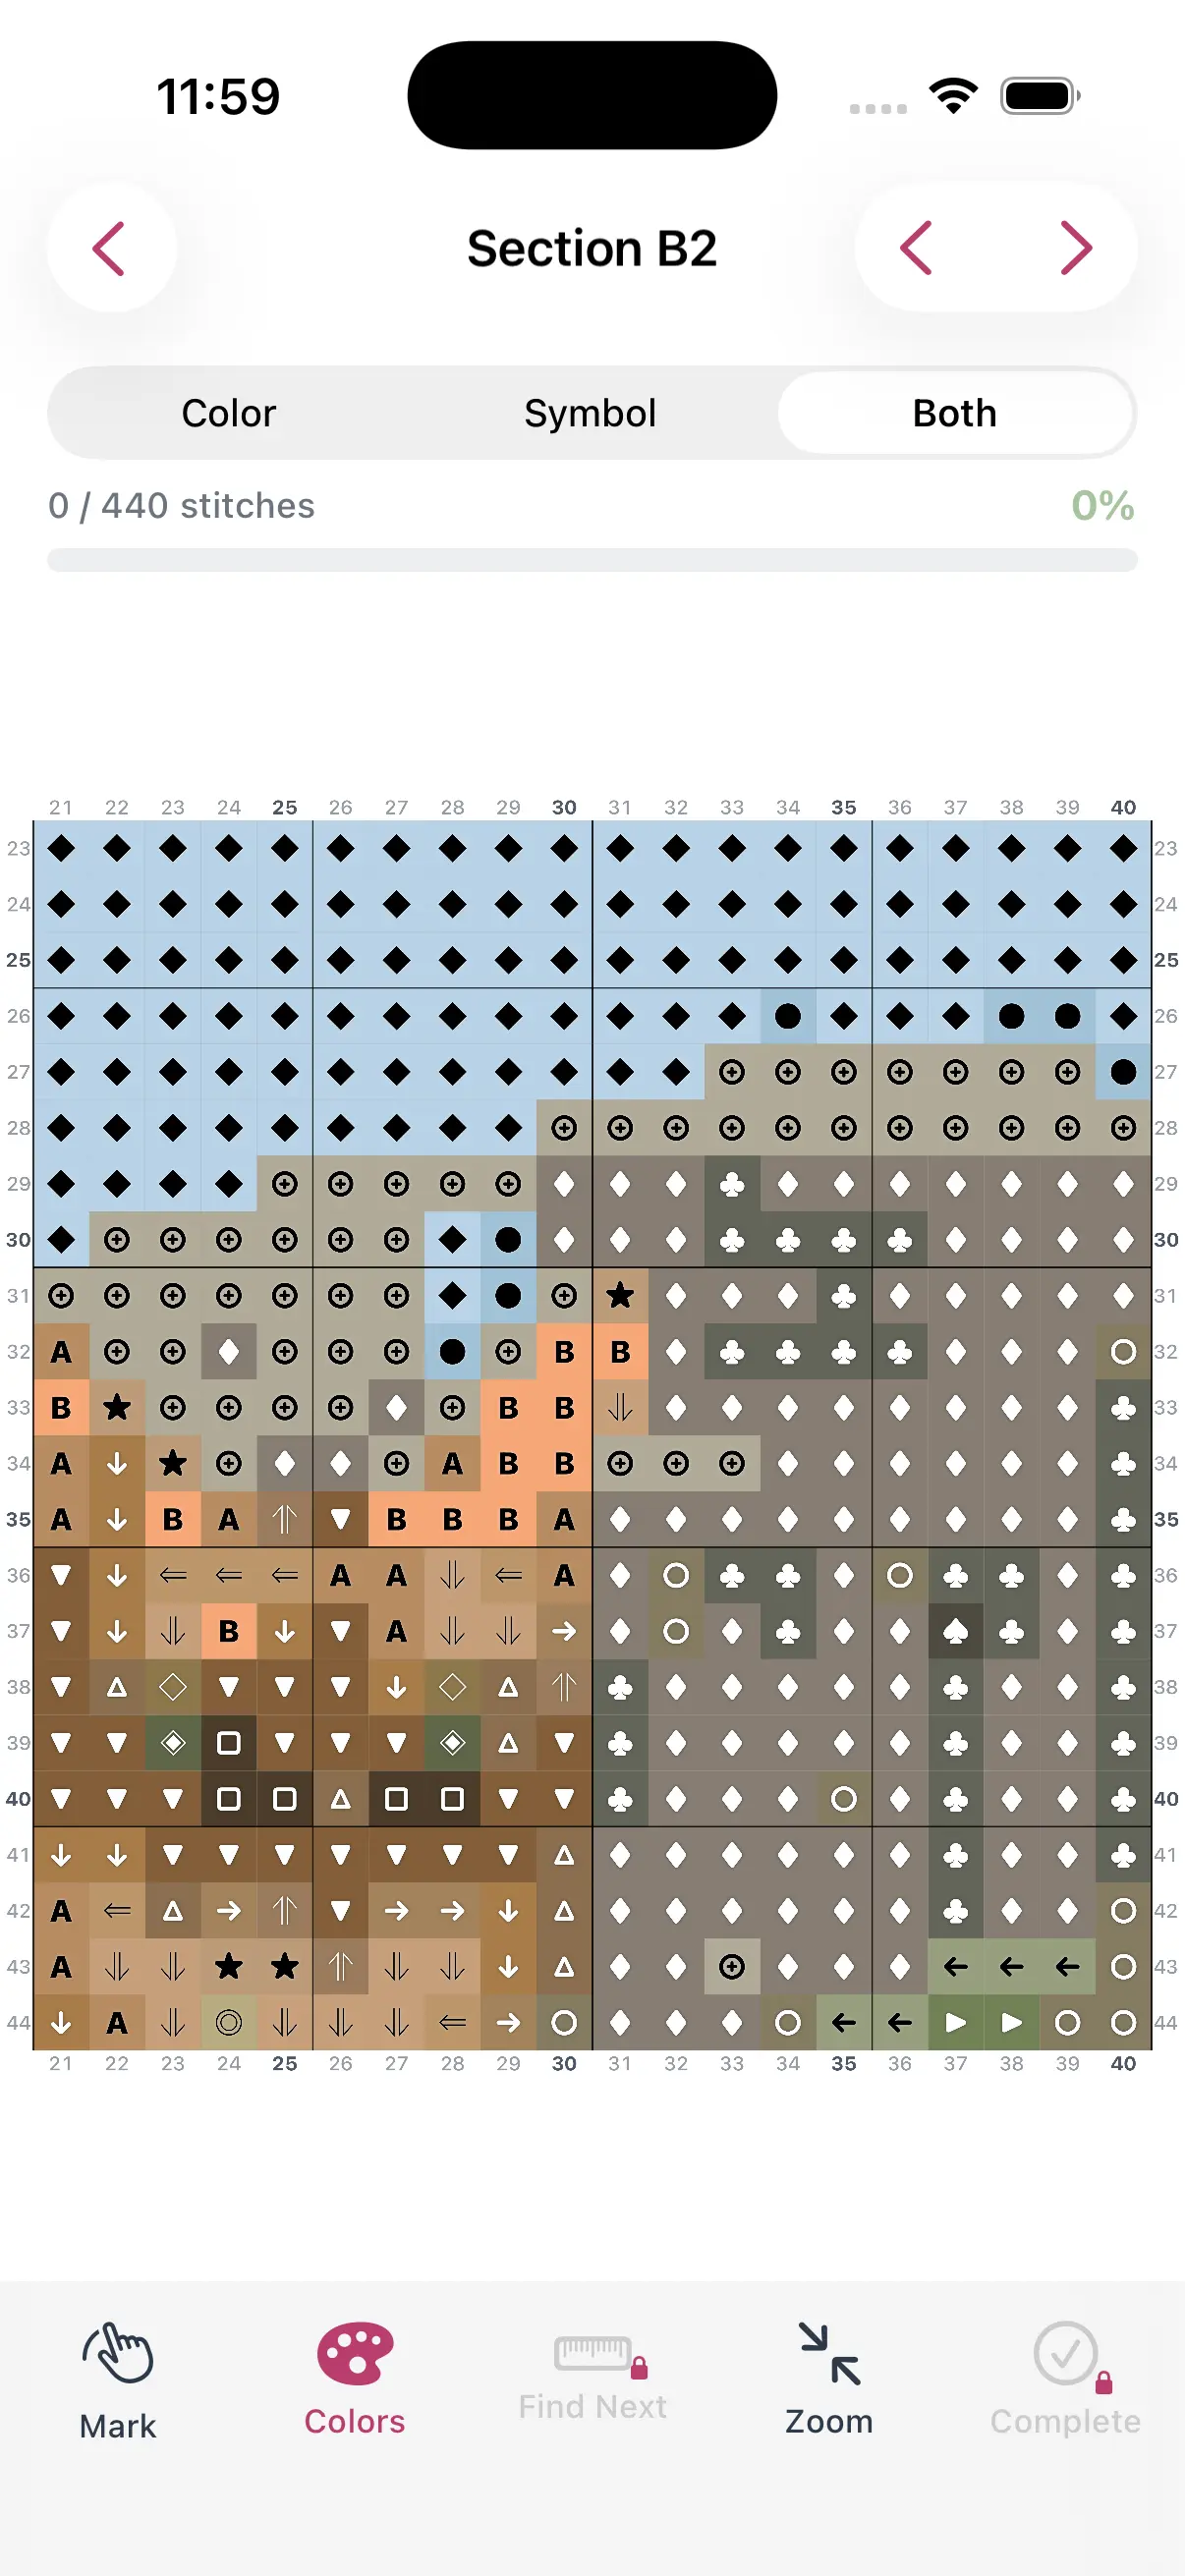
Step-by-Step in StitchCraft
- Open StitchCraft and tap "New Pattern"
- Select your portrait photo from your camera roll
- Adjust the grid size to match your desired finished dimensions
- Set the color count between 20 and 30 for a detailed portrait
- Review the preview and fine-tune skin tone accuracy
- Export the PDF pattern with DMC thread list, or stitch directly in the app
A hand-stitched portrait is a gift that no store-bought item can match. Download StitchCraft to get started on your first portrait pattern.