How to Make a Wedding Cross Stitch Pattern from a Photo
How to Make a Wedding Cross Stitch Pattern from a Photo
Co-Founder & Design Lead
A cross-stitched wedding photo is one of the most heartfelt gifts you can give — or keep as a personal memento. Turning a wedding photo into a stitchable pattern combines the elegance of the occasion with the warmth of handmade craft. Here is how to create one that looks stunning on the wall.
Choosing the Wedding Photo
Not every wedding photo will work equally well as a cross stitch pattern. Look for these qualities:
- Clear subjects — A photo where the couple is the obvious focal point, without too many guests or decorations competing for attention
- Good contrast — The couple's attire (often dark suit and white dress) naturally provides excellent contrast
- Simple background — An outdoor shot with soft bokeh or a plain wall works better than a busy reception hall
- Emotional moment — A first dance, kiss, or candid laugh captures the feeling of the day
Creating a Romantic Color Palette
Wedding patterns often benefit from a curated color palette that enhances the romantic mood.
- Warm neutrals for skin tones and the groom's suit
- Soft whites and creams for the wedding dress — use 2-3 shades of white to capture fabric folds
- Accent colors from the bouquet or venue decorations
- 20-30 DMC colors typically works well for a detailed wedding pattern
- StitchCraft lets you preview the full palette before you commit, so you can tweak colors to match the wedding's actual theme
Adding Names and Dates
Many stitchers like to personalize wedding patterns with the couple's names and wedding date. Here are some approaches:
- Stitch text below the image in a complementary font style
- Use backstitch lettering for clean, readable text
- Keep it simple — names and date are usually enough
- Plan extra rows at the bottom of your pattern grid for the text area
You can add text after converting the photo by editing the pattern in StitchCraft's built-in editor.
Turn Any Photo Into a Cross Stitch Pattern
- Accurate DMC color matching
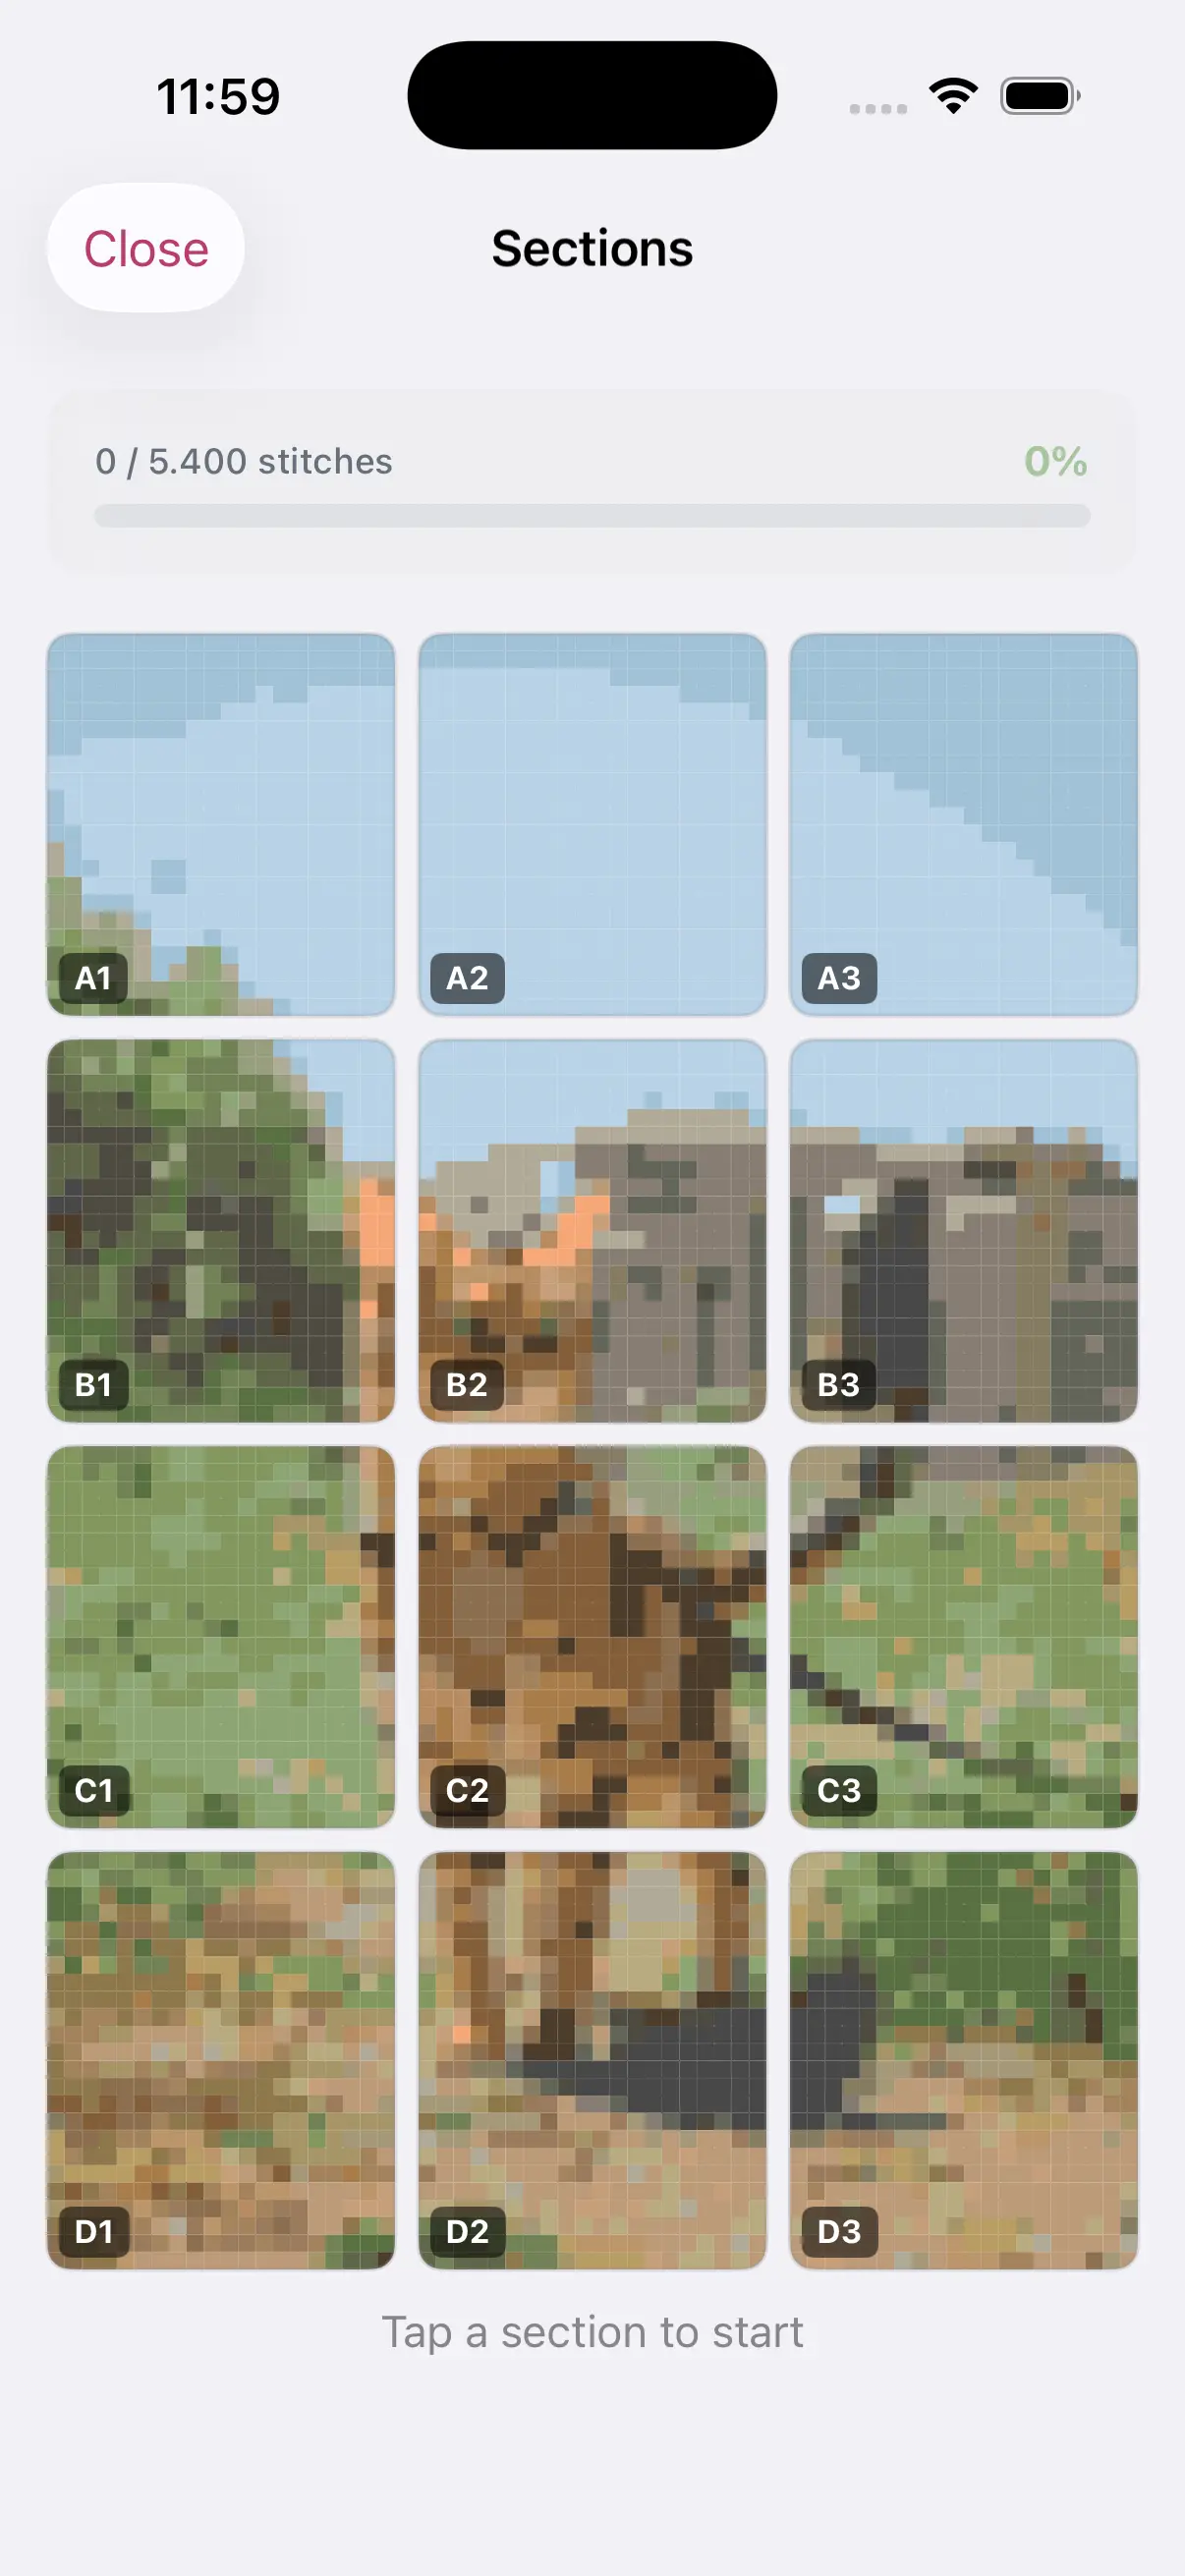
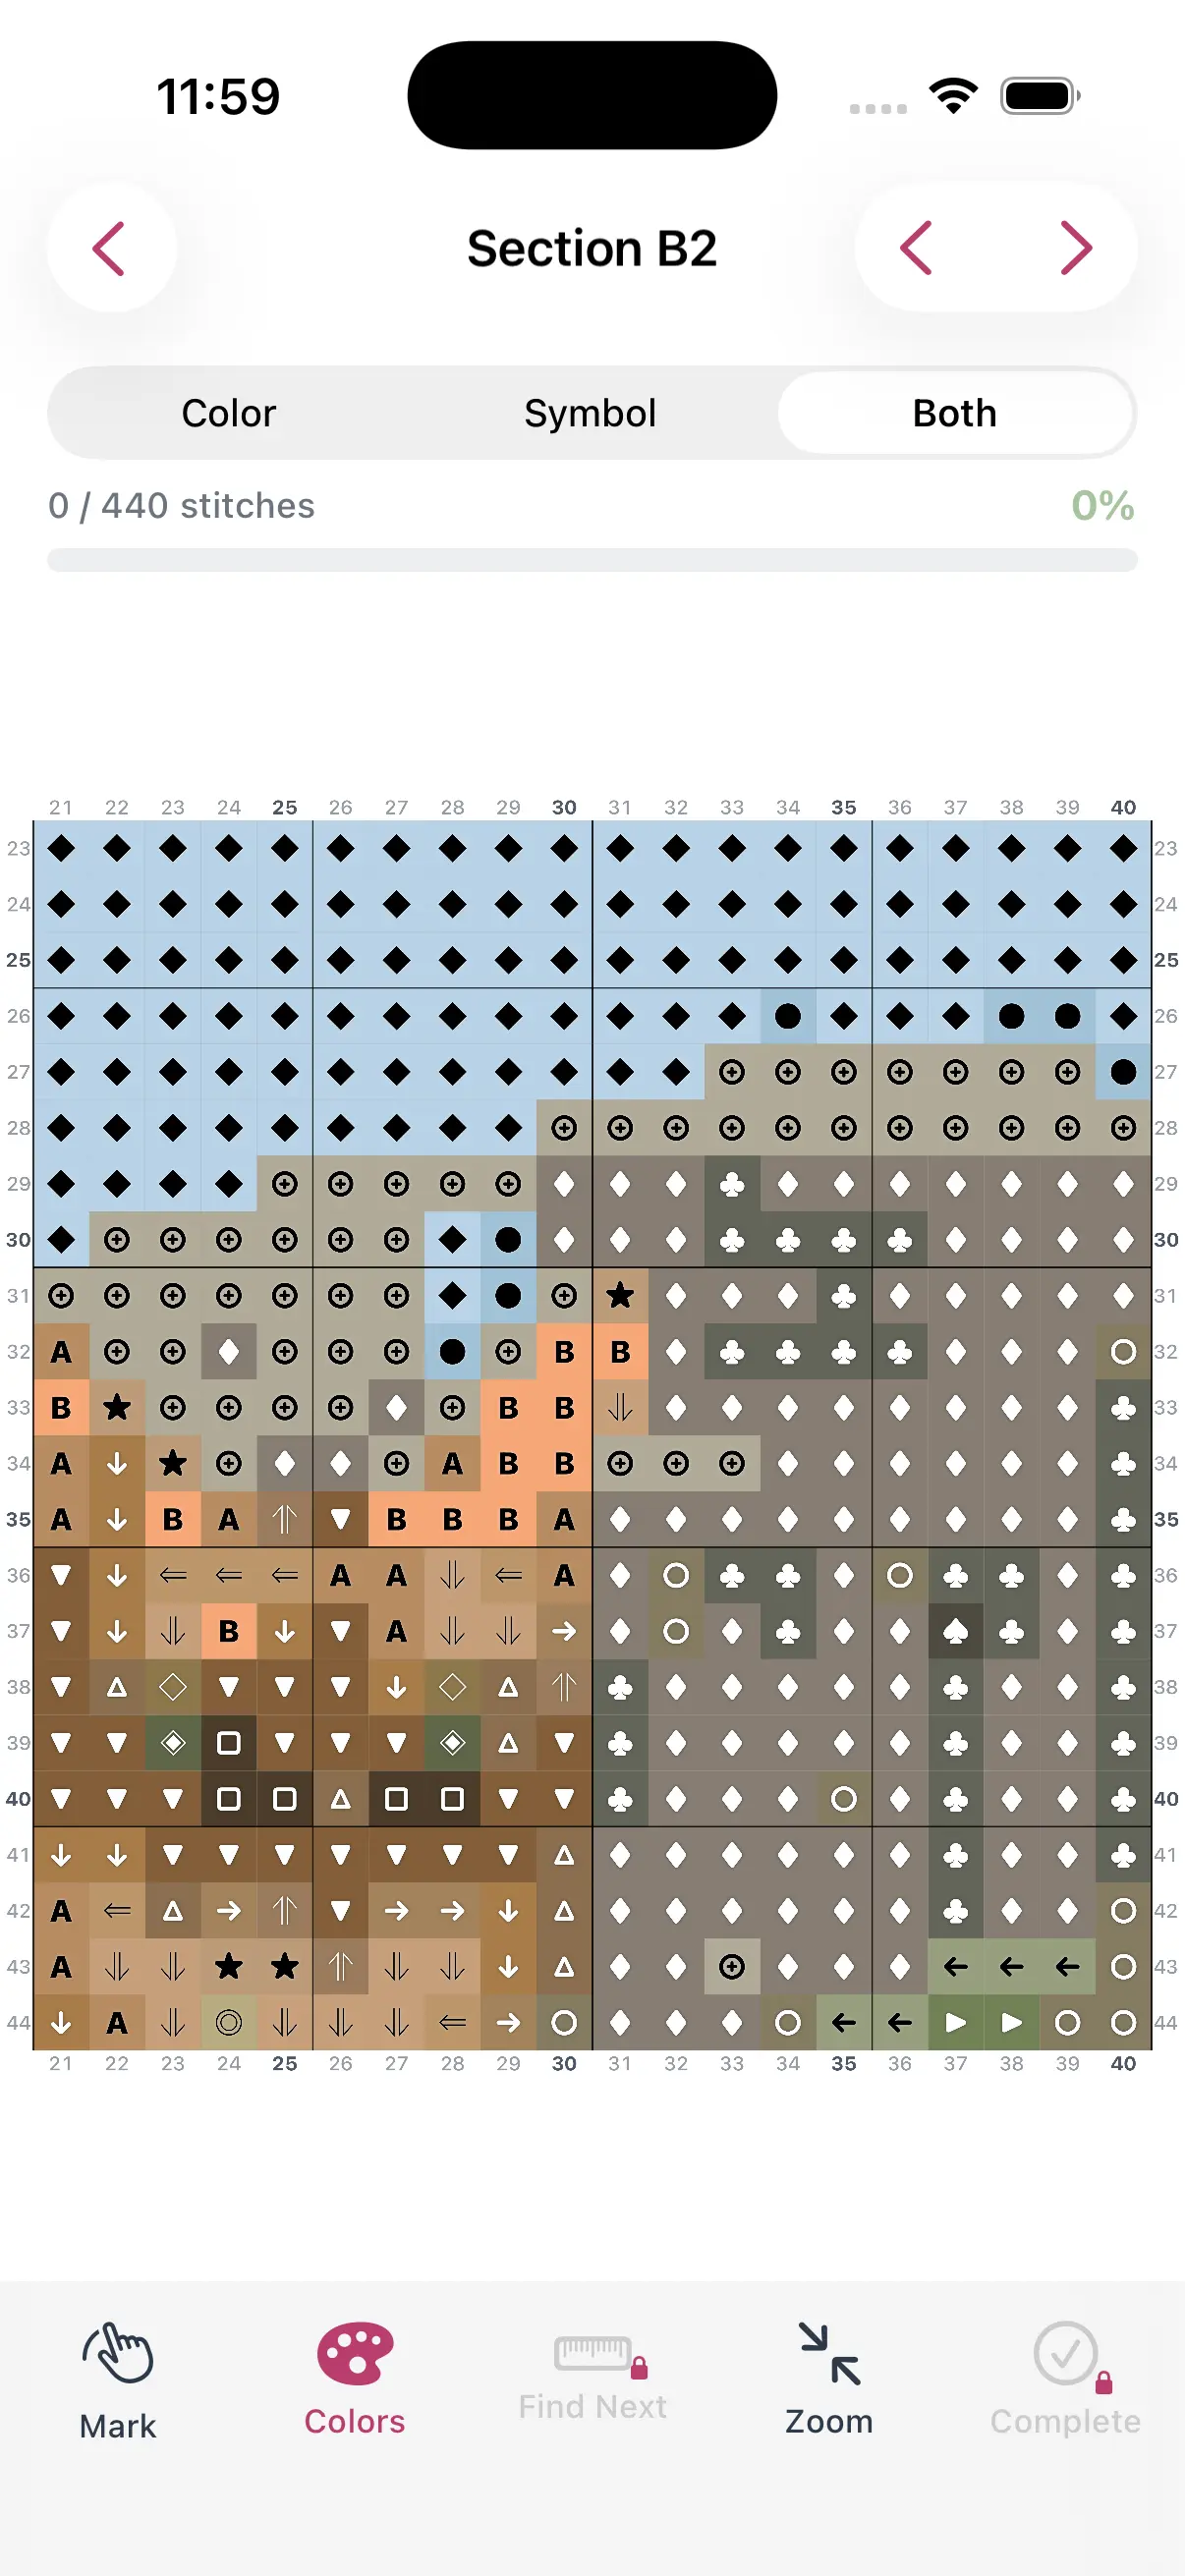
- Track progress stitch by stitch
- Export print-ready PDF charts
iPhone & iPad
Framing as a Gift
A beautifully framed wedding cross stitch pattern makes a show-stopping gift.
- Choose a frame that matches the couple's decor — classic wood, modern white, or ornate gold
- Use acid-free matting to protect the stitchwork over time
- Standard sizes like 8x10 or 11x14 make framing affordable and straightforward
- Professional framing with UV-protective glass is worth the investment for a piece meant to last decades
Planning Your Timeline
If you are making this as a wedding gift, plan backwards from the date:
- 6+ months before — Start your pattern conversion and order threads
- 4-5 months before — Begin stitching at a comfortable pace
- 1 month before — Finish stitching and arrange for framing
- A larger pattern (120x150+ stitches) will need more time, so adjust your grid size to match your timeline
- A smaller pattern (80x100 stitches) can be completed in 6-8 weeks of regular stitching
Creating the Pattern in StitchCraft
Open StitchCraft, import the wedding photo, and set your grid size based on your timeline and desired finished dimensions. Use 20-30 colors for a detailed result. Preview the pattern and check that the couple's faces are clear and recognizable — this is the most important element.
Export the pattern as a PDF for a printable chart with DMC thread list, or stitch along in the app with progress tracking. Either way, the result is a handmade treasure the couple will cherish forever.
Download StitchCraft to start creating your wedding cross stitch pattern today.