How to Frame Cross Stitch: A Complete Guide
How to Frame Cross Stitch: A Complete Guide
Co-Founder & Lead Developer
Framing transforms your cross stitch from a piece of stitched fabric into a finished work of art. Done well, a framed cross stitch piece can last for decades. This guide covers every step from washing to hanging.
Step 1: Wash Your Finished Piece
Before framing, always wash your cross stitch to remove oils, pencil marks, and any gridding lines:
- Fill a basin with lukewarm water and a small amount of mild dish soap
- Submerge the piece and gently swish — never rub or wring
- Rinse thoroughly in clean water
- Roll the piece in a clean towel to remove excess water
- Lay flat to dry on a clean surface
Step 2: Press the Fabric
Once dry, press the fabric to remove wrinkles:
- Place the piece face down on a clean towel
- Use a warm iron (no steam) on the back of the fabric
- The towel cushions the stitches so they aren't flattened
- Press gently — you want smooth fabric without crushing the texture
Step 3: Choose a Mounting Method
There are three main ways to mount cross stitch for framing:
Lacing (best for longevity):
- Stretch the fabric over acid-free foam board or mat board
- Fold excess fabric to the back and lace it with strong thread in a zigzag pattern
- This method is archival-safe and easy to undo if you ever want to re-frame
Self-adhesive board:
- Peel-and-stick mounting boards are fast and easy
- Good for quick framing but harder to reverse
- Choose acid-free boards to prevent yellowing over time
Pin mounting:
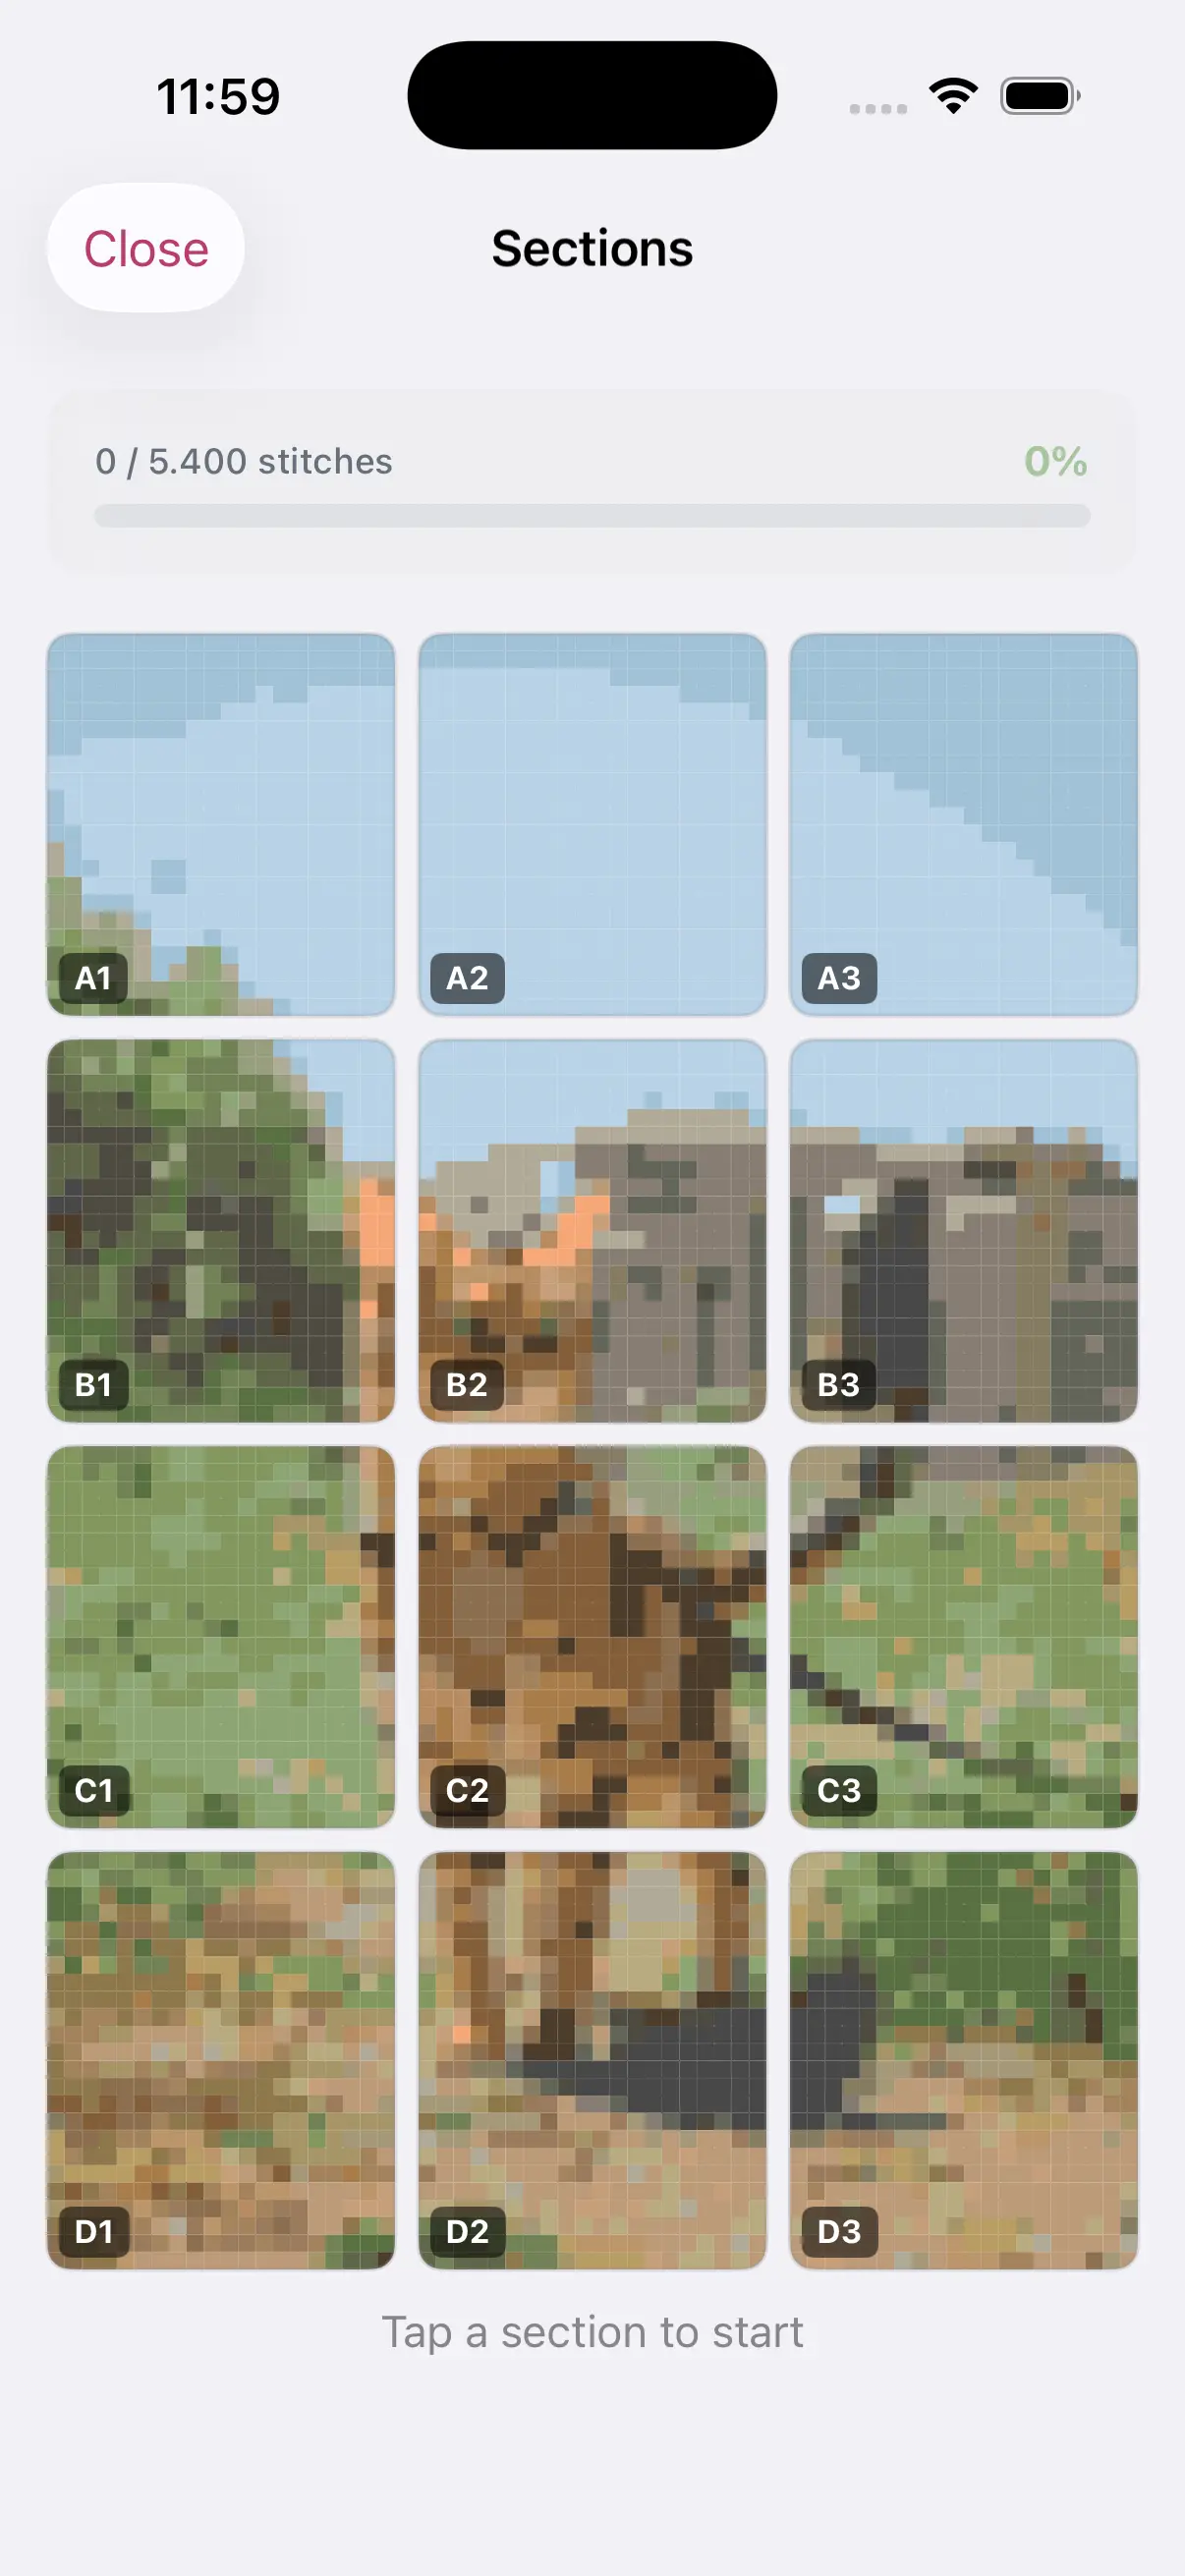
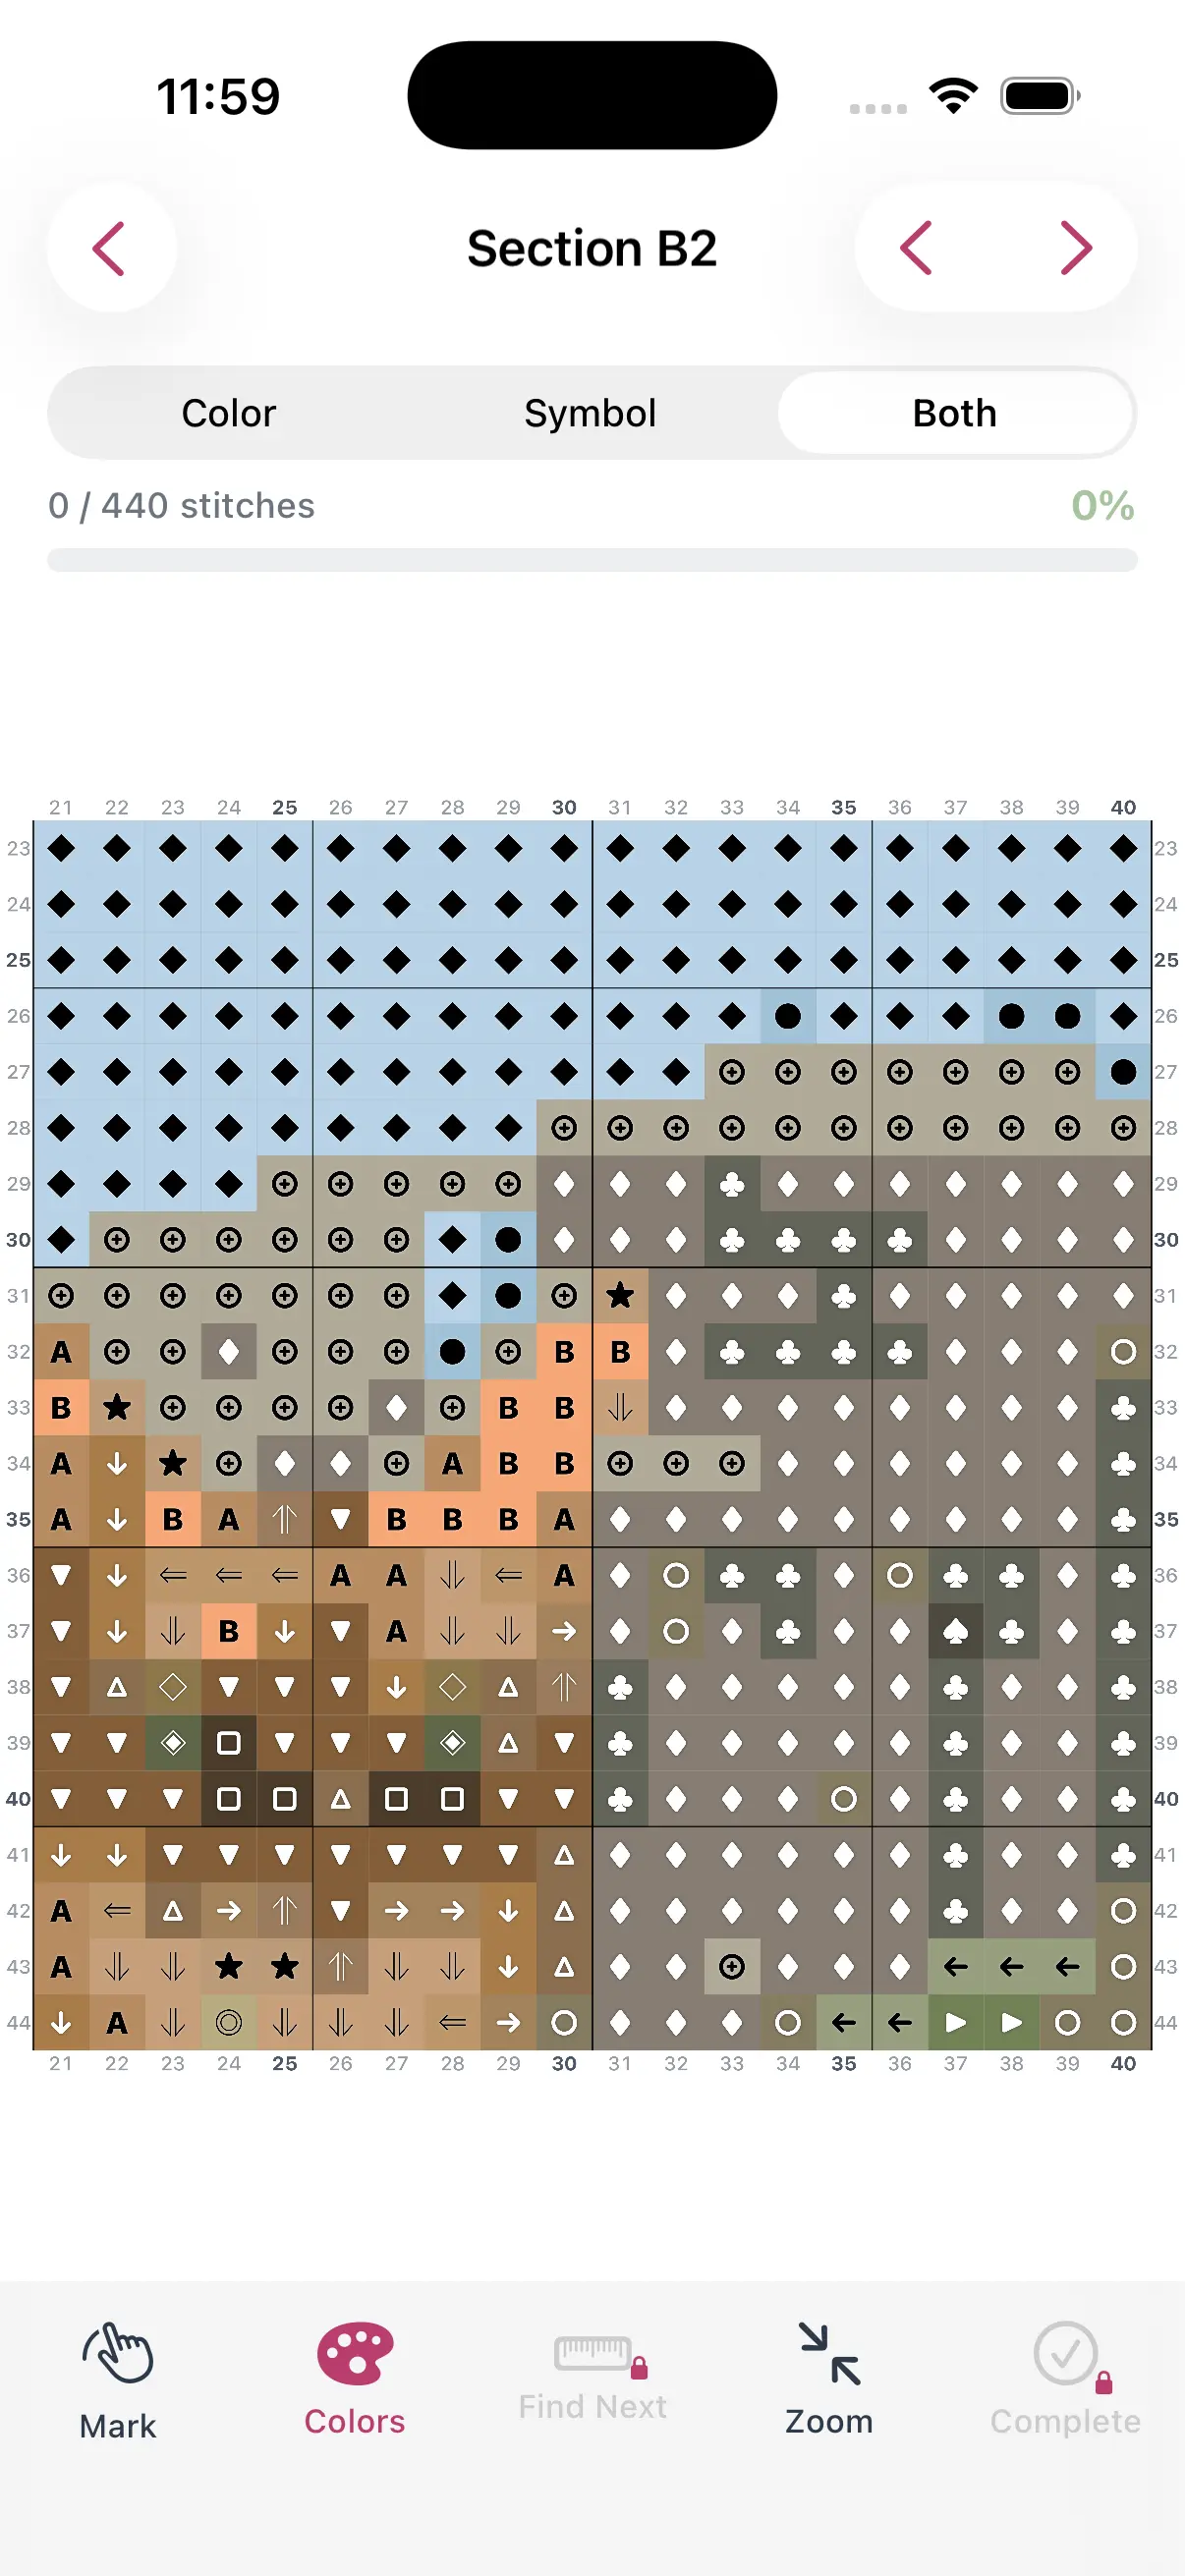
Turn Any Photo Into a Cross Stitch Pattern
- Accurate DMC color matching
- Track progress stitch by stitch
- Export print-ready PDF charts
iPhone & iPad
- Pin the fabric to a foam board at the edges
- Quick for temporary display but not ideal for long-term framing
Step 4: Choose Your Frame
Frame selection affects the overall look significantly:
- Simple frames in natural wood or black let the stitching be the focal point
- Ornate frames suit traditional or vintage-style patterns
- Deep frames (shadow boxes) work well when you want to display the piece without glass, showing off the texture
- Mat boards add a professional border between the stitching and the frame edge — white or cream mats are the most versatile
Glass vs. No Glass
Glass protects against dust, moisture, and fading from UV light. Use UV-protective glass for pieces displayed in bright rooms. Non-glare glass reduces reflections but can slightly soften the appearance.
No glass lets you see and feel the texture of the stitches. It works best in low-dust environments and for pieces displayed away from direct sunlight.
Professional Framing vs. DIY
Professional framing gives you access to archival materials, precise cutting, and expert assembly. It costs more but produces the best result, especially for large or sentimental pieces.
DIY framing is more affordable and perfectly adequate for most projects. Ready-made frames from craft stores come in standard sizes. If your piece doesn't match a standard size, custom-cut mats bridge the gap.
Display Ideas
Beyond traditional wall hanging, consider:
- Easel frames for shelf display
- Grouping several small framed pieces together for a gallery wall
- Rotating displays — swap framed pieces seasonally
StitchCraft helps you plan the right dimensions for your finished piece before you start stitching, so you can buy the perfect frame in advance. Download StitchCraft from the App Store and turn your patterns into display-worthy art.