Cross Stitch Portrait Tutorial: Step-by-Step from Photo to Pattern
Cross Stitch Portrait Tutorial: Step-by-Step from Photo to Pattern
Co-Founder & Lead Developer
Portrait cross stitch is one of the most rewarding projects you can take on. Turning a photo of someone you love into a handmade piece of art creates something no store-bought gift can match. Here is how to do it from start to finish.
Choosing the Right Portrait Photo
The photo you start with determines everything. Not every portrait works well as a cross stitch pattern.
- Use a close-up shot. Head and shoulders framing gives the face enough grid space for recognizable detail.
- Pick a photo with strong lighting. Even, front-facing light reduces harsh shadows that can look muddy when stitched.
- Avoid busy backgrounds. A simple or solid background keeps the focus on the face and reduces unnecessary color complexity.
- High resolution matters. The sharper the original, the cleaner the conversion.
Adjusting the Photo for Cross Stitch
Before converting, do some light editing. Increase the contrast slightly so facial features stand out. Crop tightly around the subject — every pixel outside the face is a stitch that does not contribute to the portrait.
If the background is distracting, consider replacing it with a solid color. This dramatically reduces the total color count and makes the finished piece look cleaner.
Selecting Your Color Palette
Color count is the single most important setting for portraits. Too few colors and the face looks flat. Too many and you will spend weeks managing thread changes.
- 20-30 DMC colors is the sweet spot for most portraits
- Skin tones need at least 4-6 shades to look natural
- Hair typically needs 3-5 shades depending on highlights and shadows
StitchCraft's color reduction algorithm prioritizes perceptually important colors, which means skin tones and facial features get the detail they need.
Turn Any Photo Into a Cross Stitch Pattern
- Accurate DMC color matching
- Track progress stitch by stitch
- Export print-ready PDF charts
iPhone & iPad
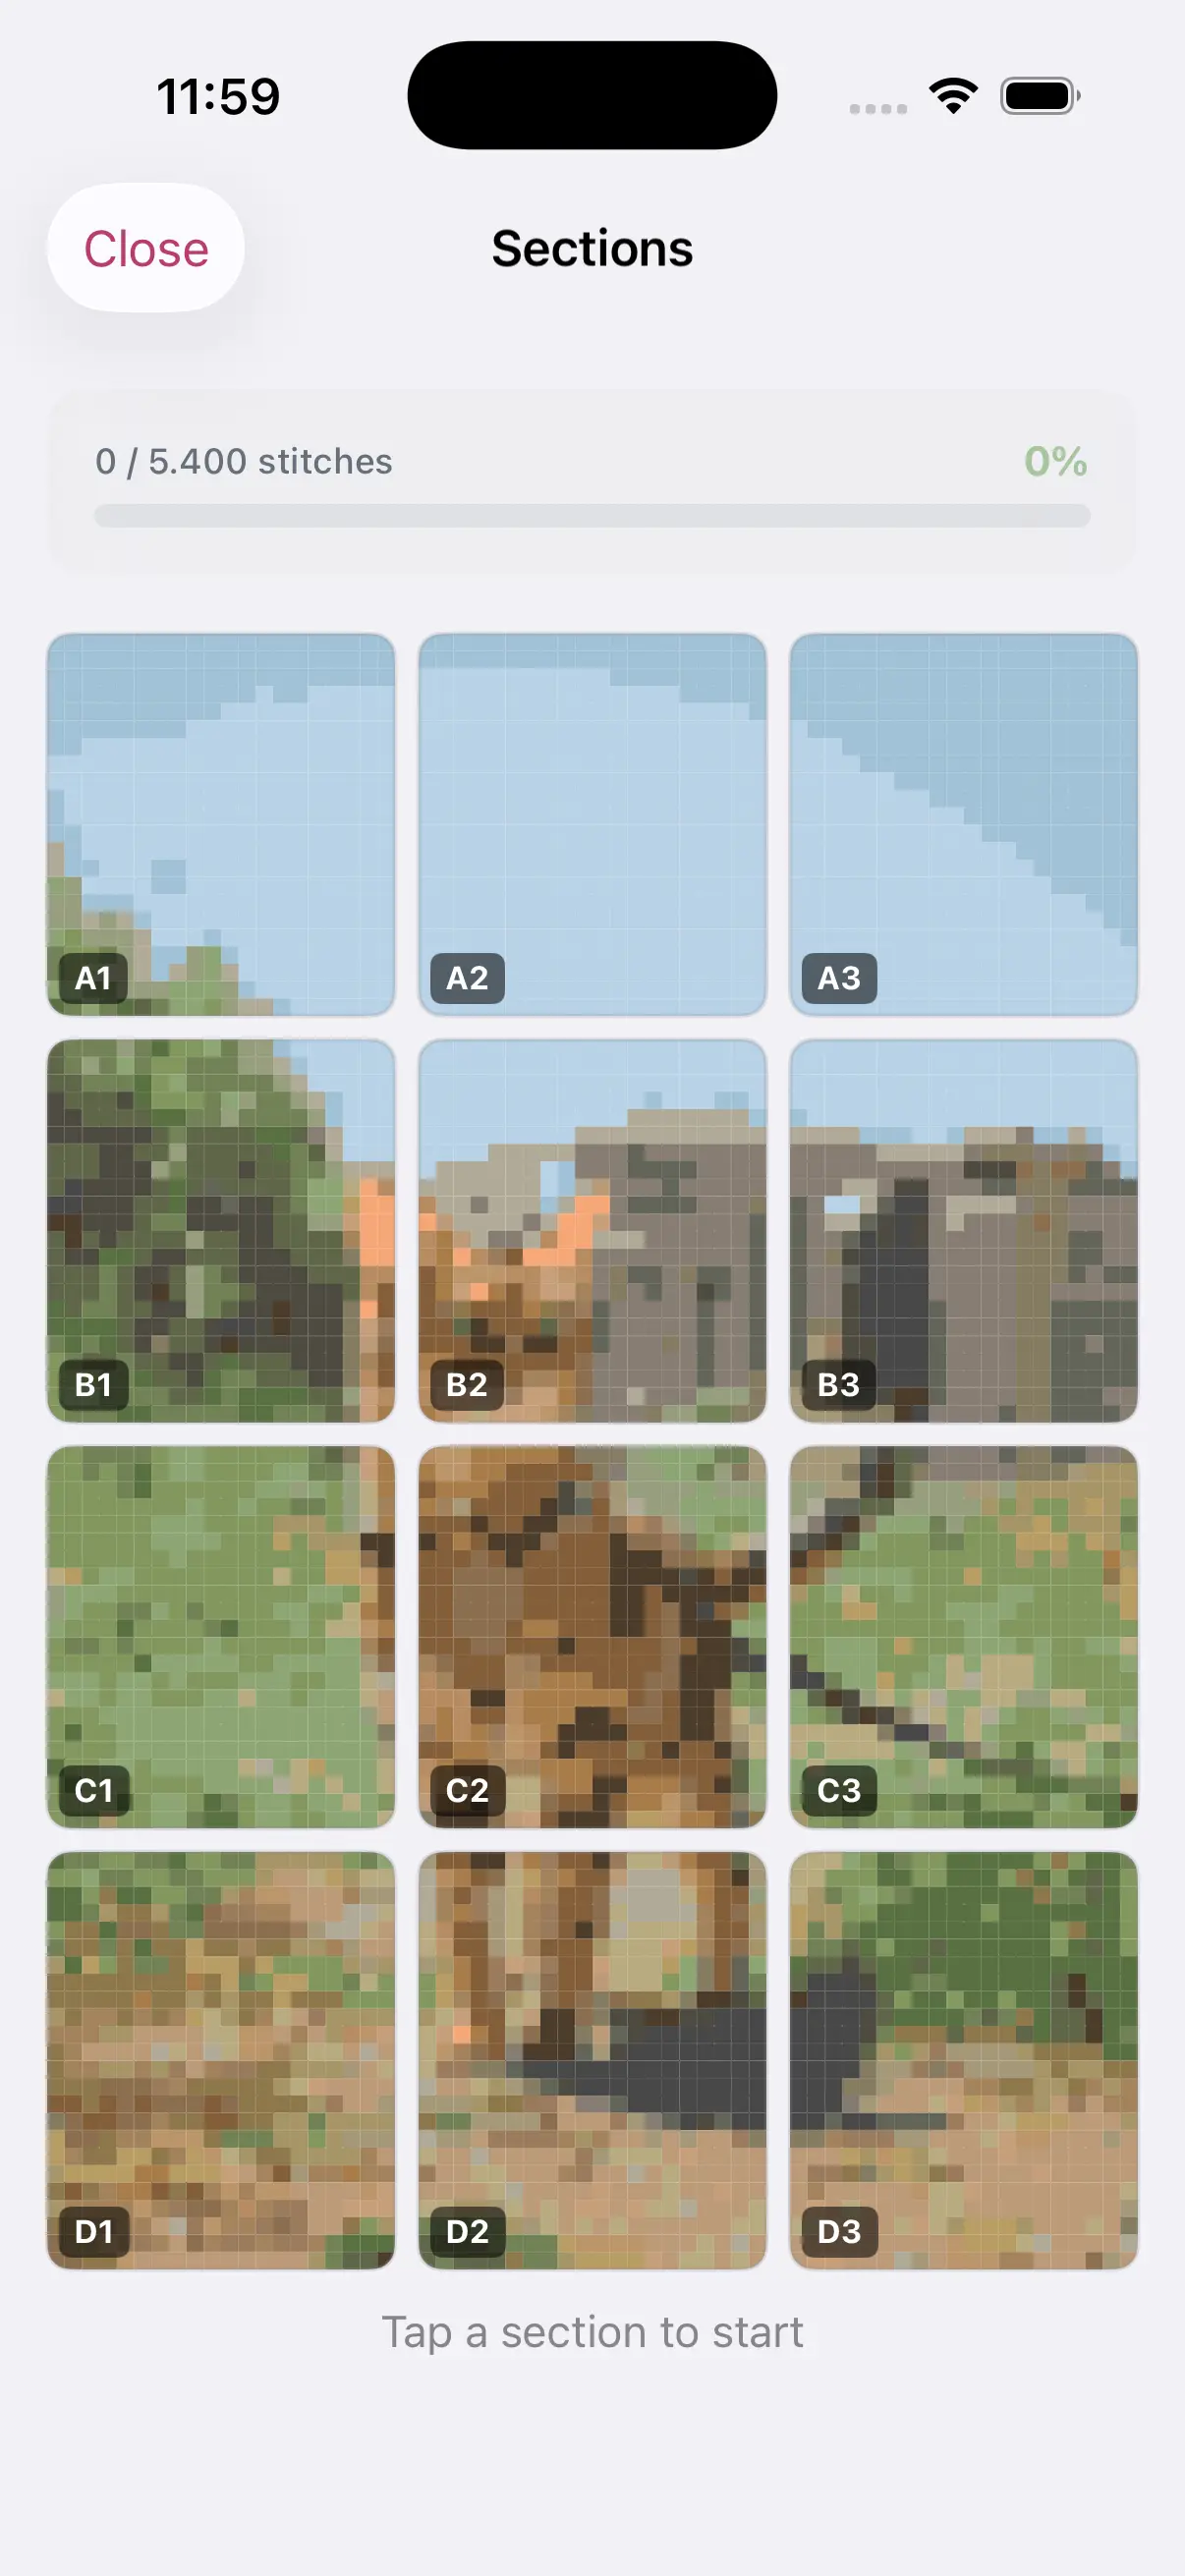
Grid Size for Faces
For a recognizable portrait, you need enough stitches to capture facial features. General guidelines:
- 80x80 minimum for a simple, stylized portrait
- 120x120 for clear detail and recognizable features
- 150x150 or larger for photorealistic results
On 14-count Aida, a 120x120 grid produces a piece roughly 8.5 inches square — a great size for framing.
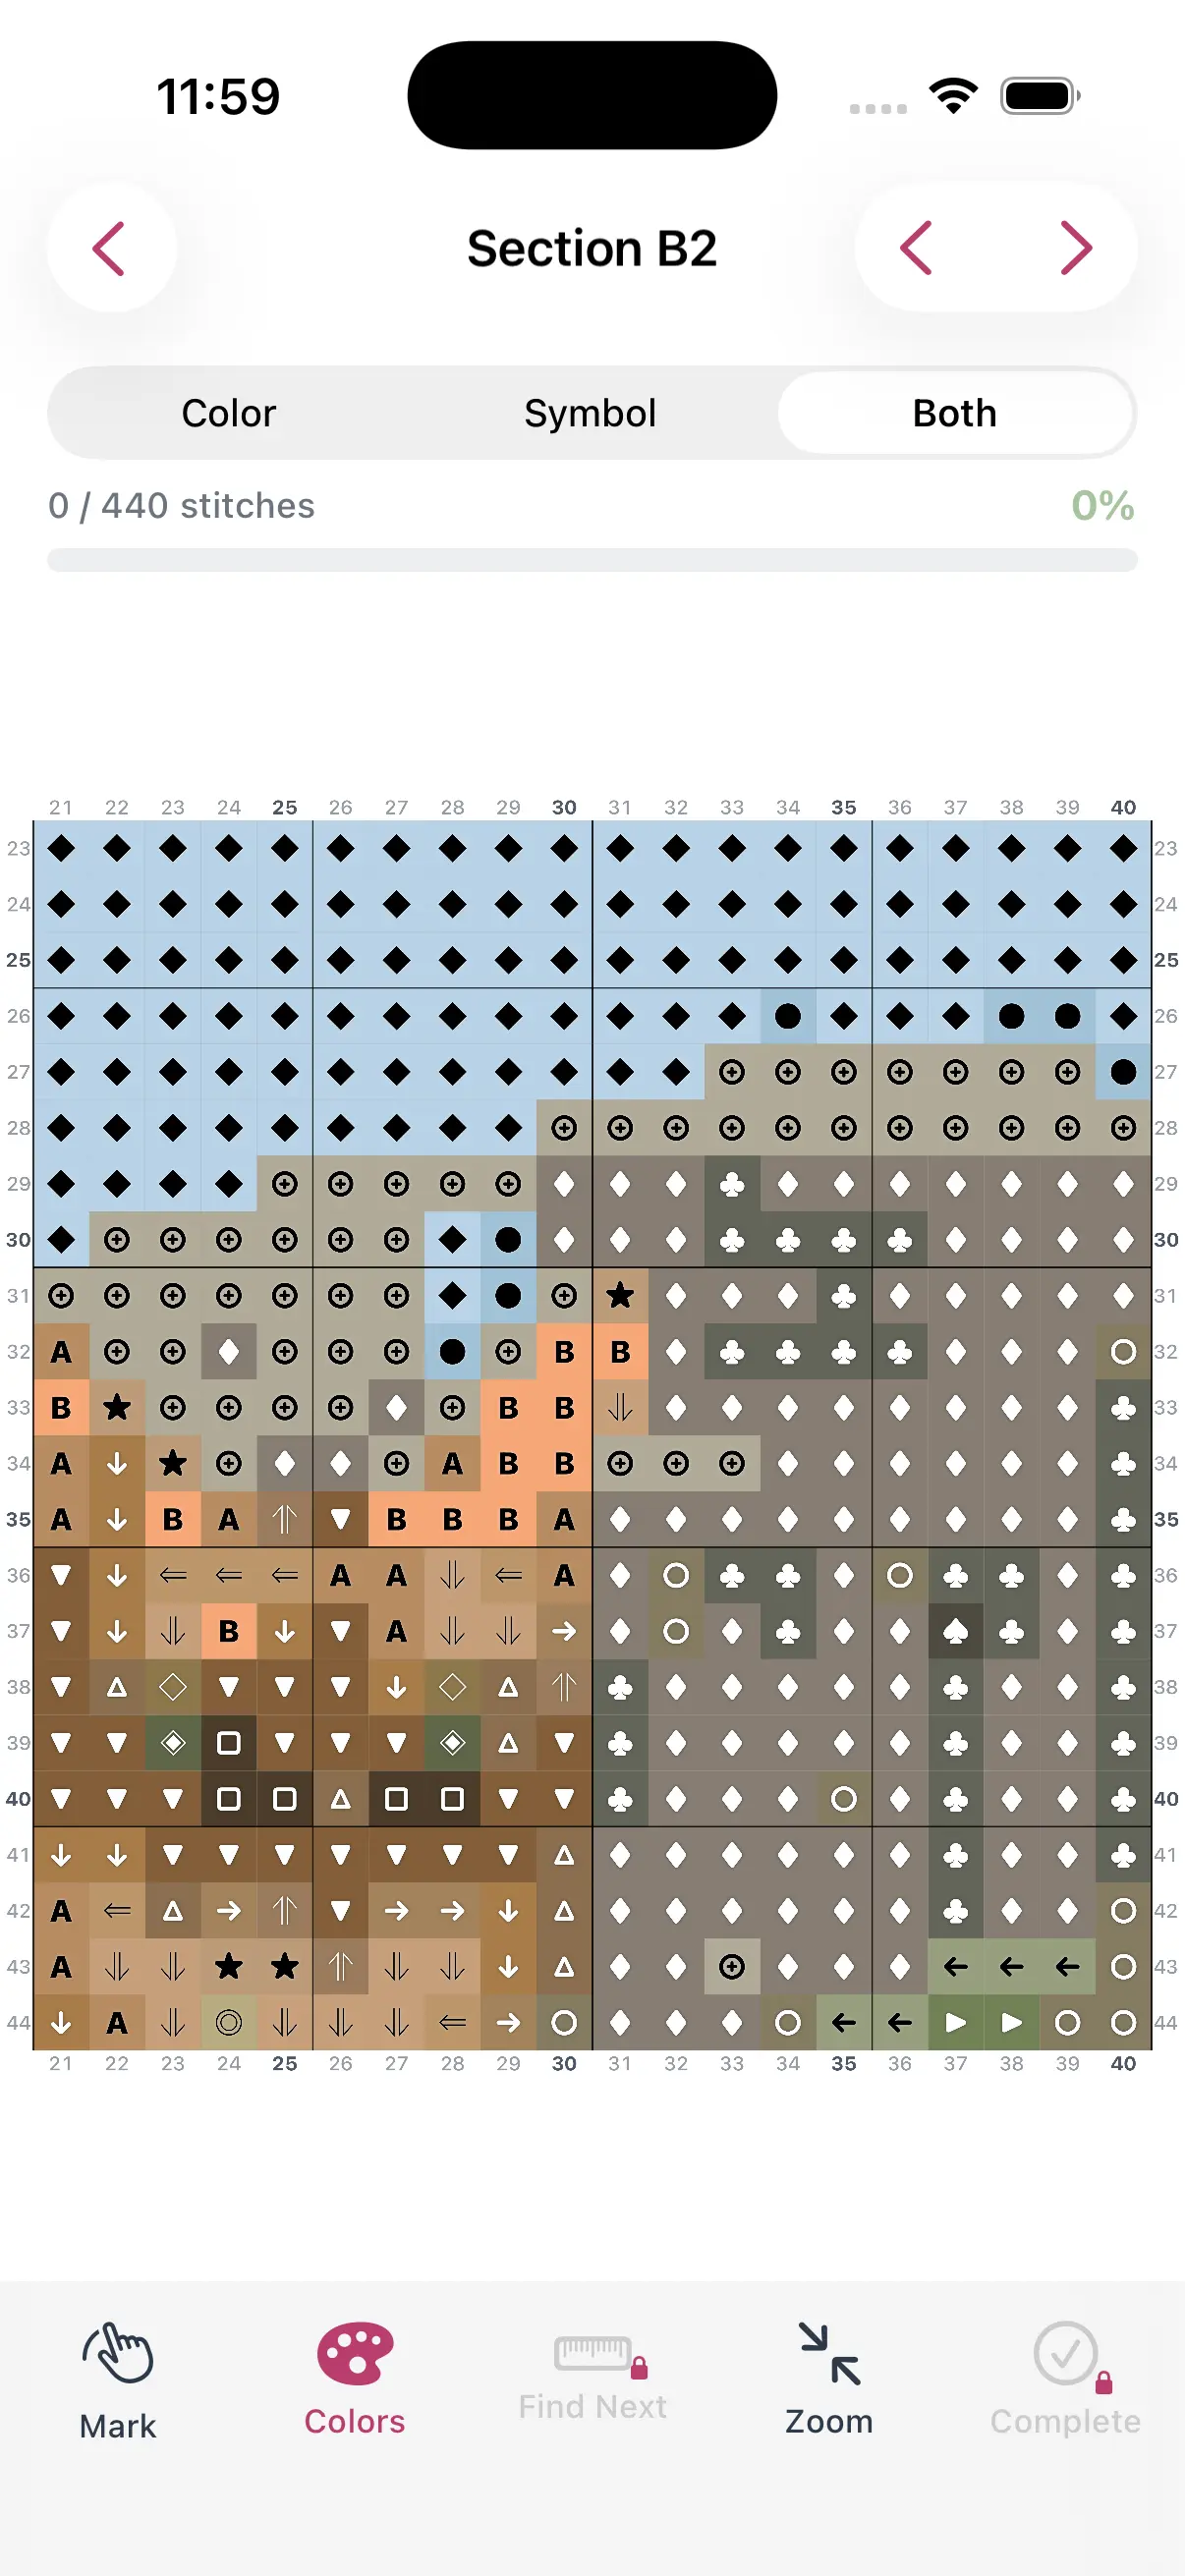
Stitching Order for Portraits
The order you stitch matters more with portraits than most projects. Work from the center of the face outward. Stitch the eyes first — they anchor the entire portrait and let you verify the pattern is working before committing hours to the rest.
After the eyes, work the nose and mouth, then fill in skin tones, hair, and finally the background.
Finishing Your Portrait
Once complete, wash gently in cool water with mild soap to remove hoop marks and handling oils. Press face-down on a towel with a warm iron. Frame behind glass with a mat board to protect the fabric.
Download StitchCraft to convert your favorite portrait photo into a stitchable pattern in minutes.